
Floor heating design
Every warm floor starts as a drawing.
Before a single pipe is laid, GSAT plans your floor room by room: the circuits, the pipe spacing and the manifold position. Then the same team supplies the system and installs it exactly as drawn.
From drawing to floor.
Send your plans
Architectural plans, the floor finish you have in mind and the heat source if you know it.
Room-by-room layout
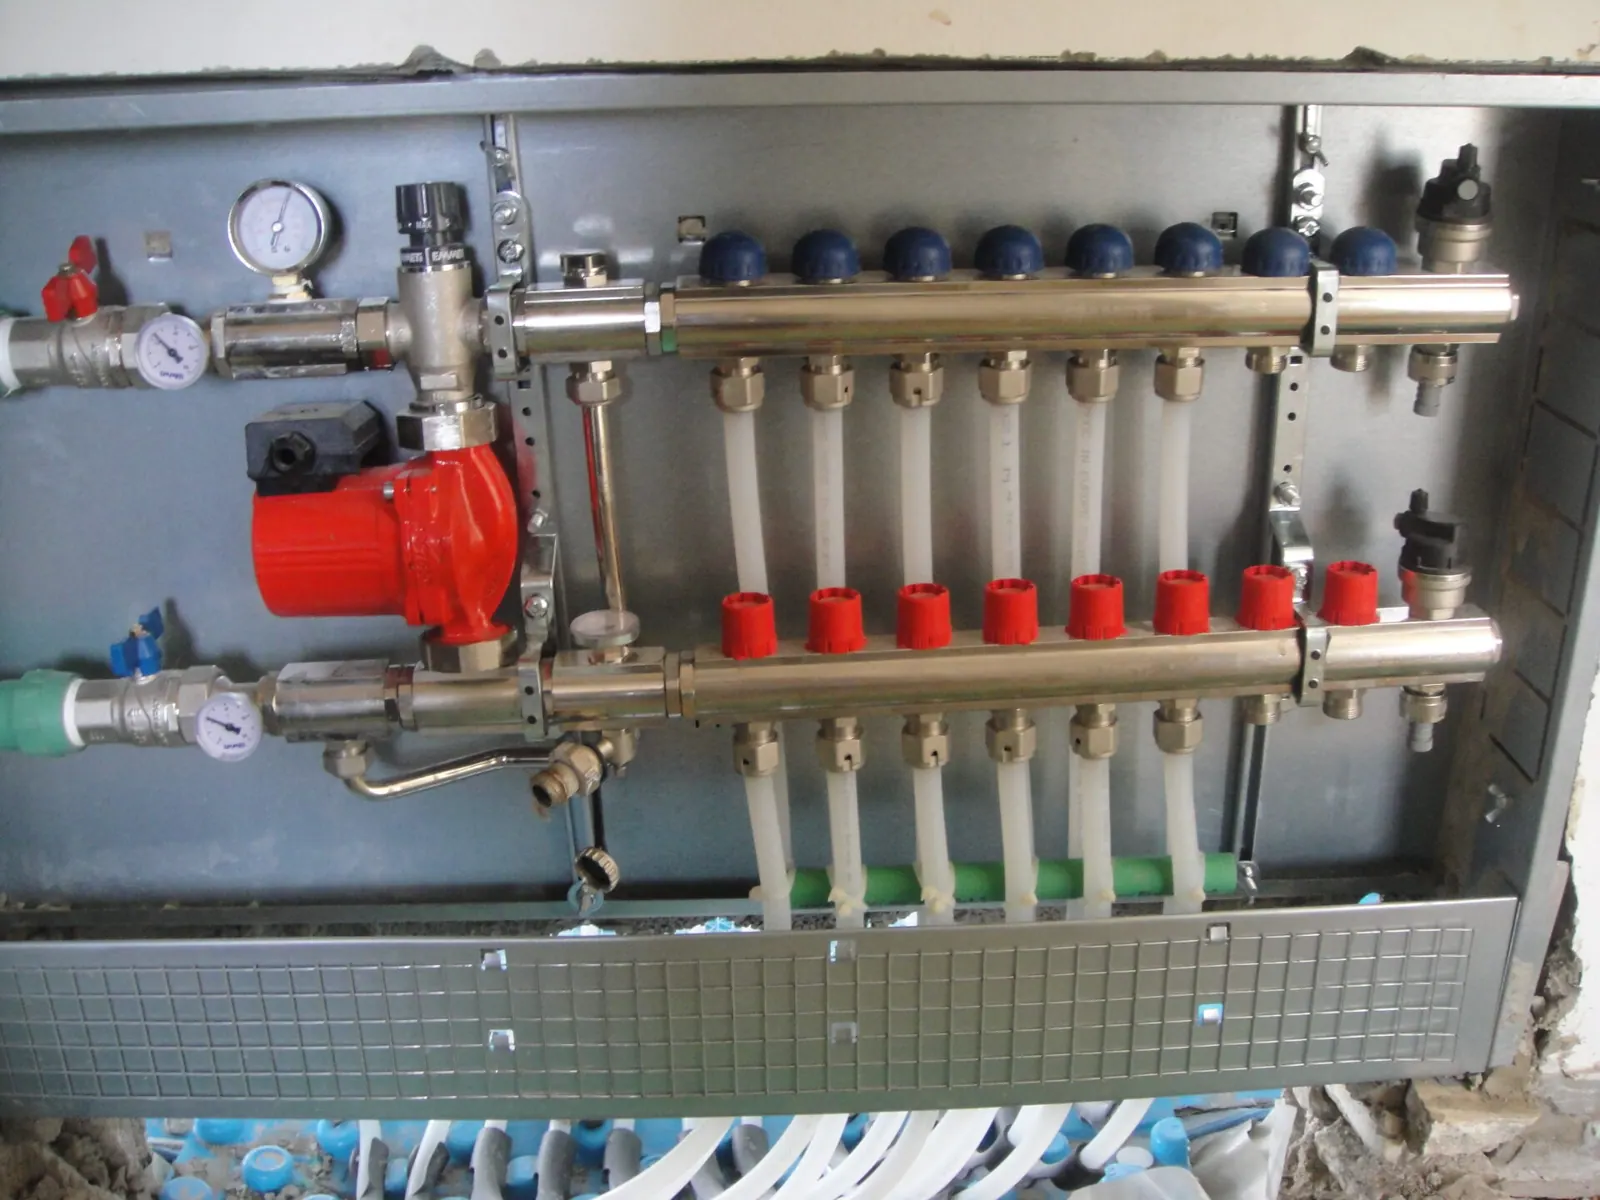
We plan pipe spacing, circuit lengths and where the manifold goes, so heat is even in every room.
Materials
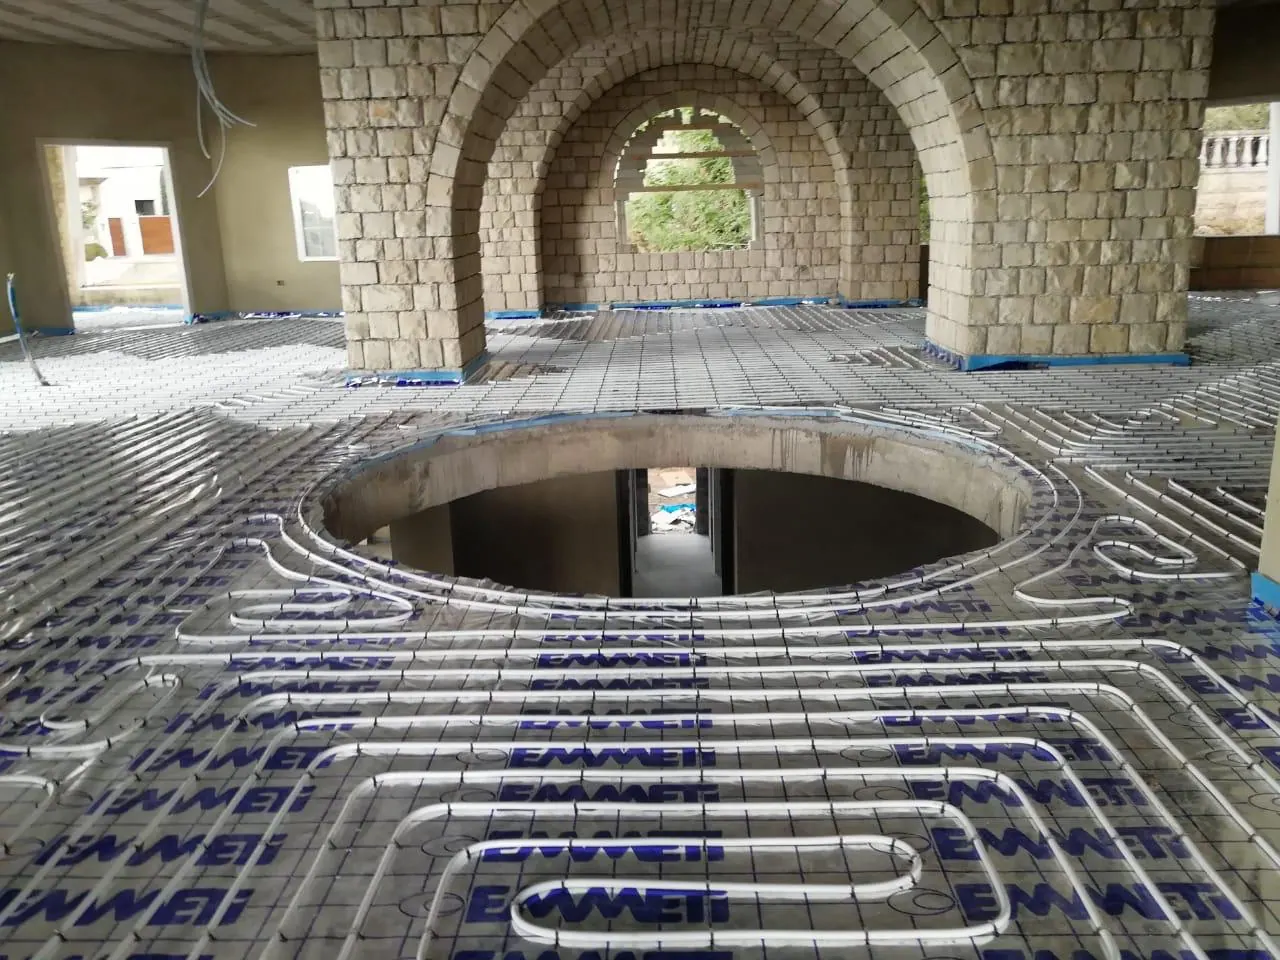
We supply the full Emmeti system: insulation panels, multilayer pipe, manifold, valves and controls.
Installation in under a week
For a villa, our team lays the circuits exactly as drawn and pressure-tests them before the screed.
Handover with warranty
Lifetime warranty on the floor heating pipe. We stay available for maintenance after handover.
What to send us
- Plans of the floors to heat (PDF or DWG).
- Floor finish: tile, stone, wood or other.
- Heat source, if decided: boiler, heat pump or solar.
- Stage of the site: before or after the screed, new build or renovation.
- Location of the project.
Contractors, engineers, architects and interior designers: see For professionals.
Drawn, then built
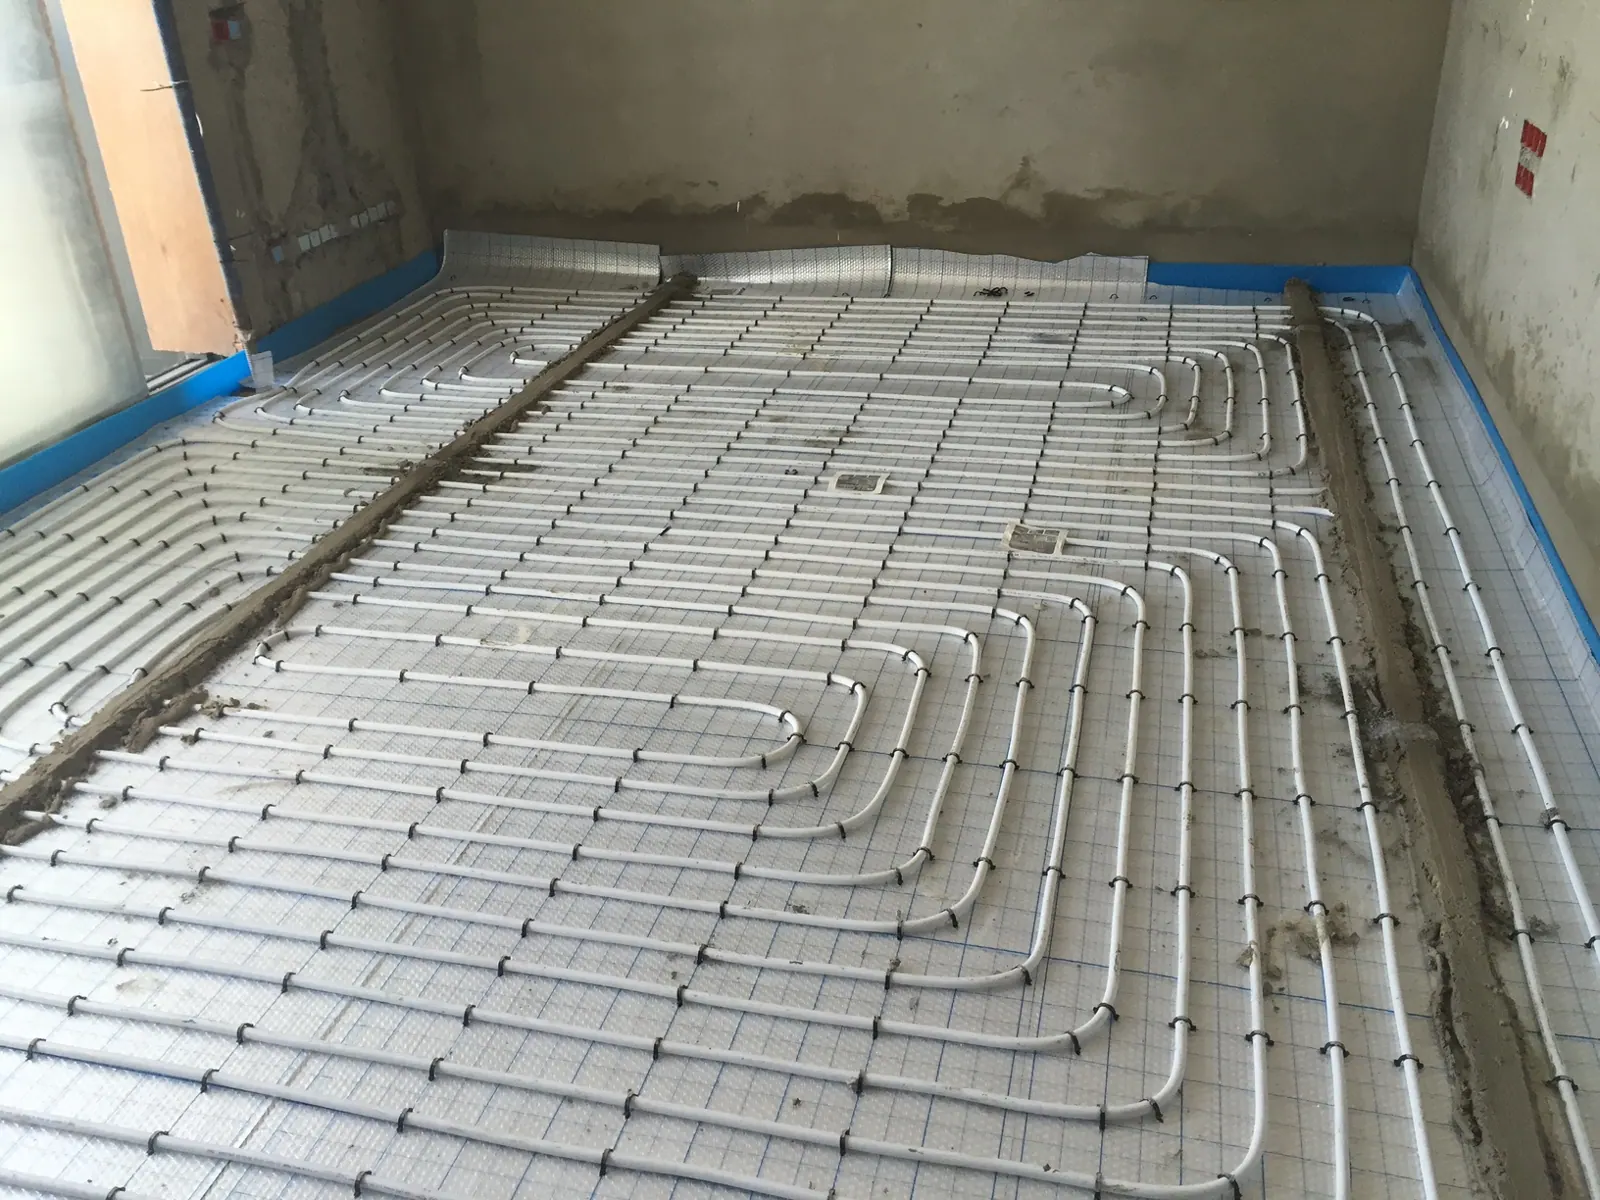
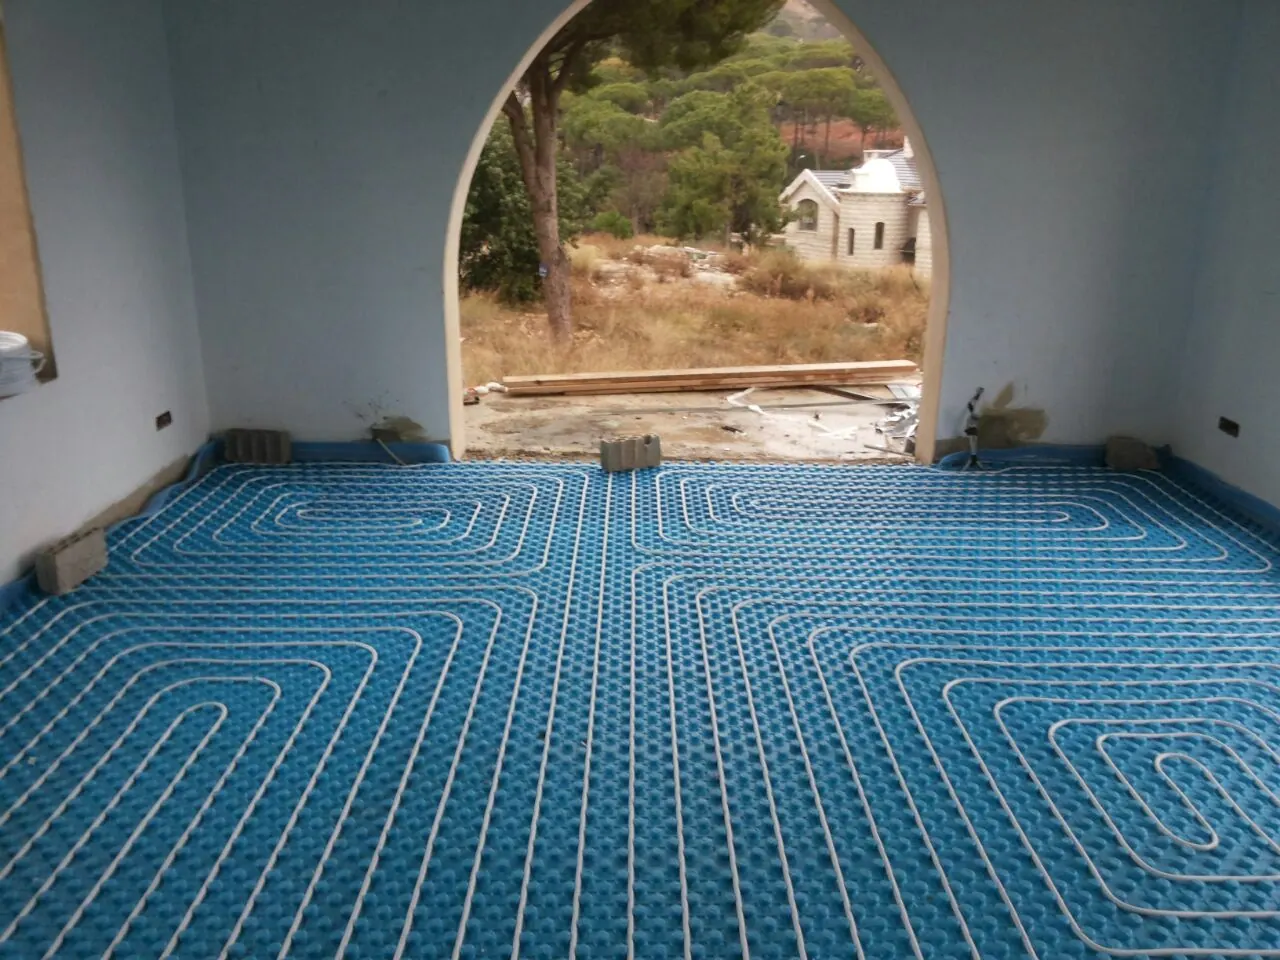
Circuits on site, laid as planned.
Send us your plans. We draw the heat.
We come back with a room-by-room layout and a quote.